CS 180 Final Project Part 1 - Light Field Camera

Overview

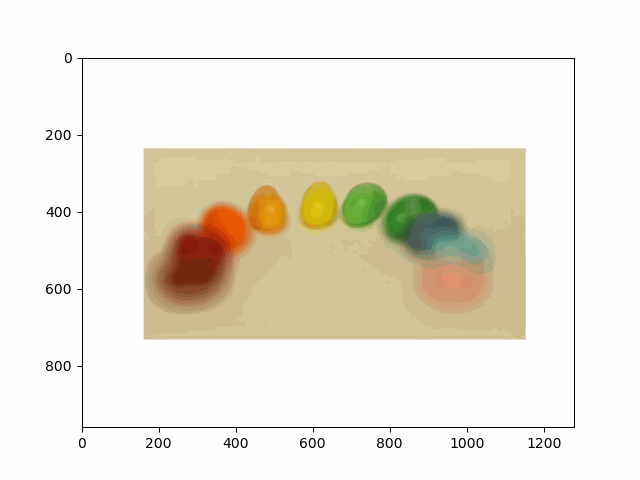
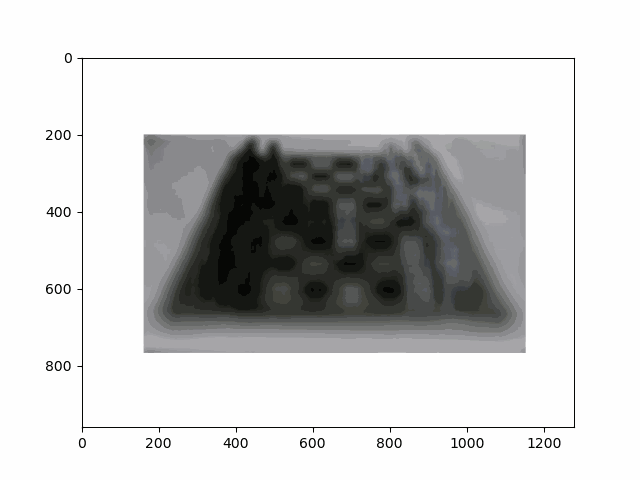
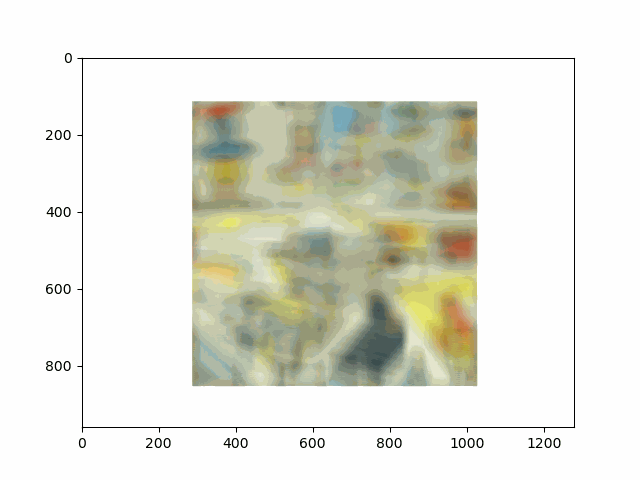
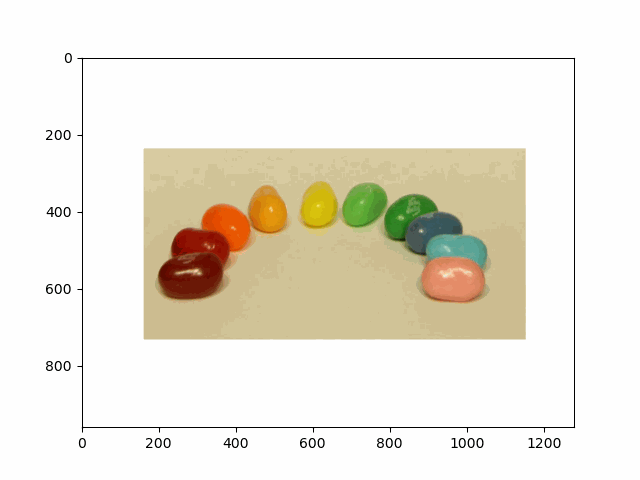
In this project, I recreated the effects of light field cameras using techniques like depth refocusing and aperture adjustment, inspired by the paper Light Field Photography with a Hand-held Plenoptic Camera by Ren Ng et al. (Ren Ng, founder of the Lytro camera, is also a professor at Berkeley!). By capturing multiple images over a plane orthogonal to the optical axis, complex effects such as dynamic focus and aperture control can be achieved through simple operations like shifting and averaging.

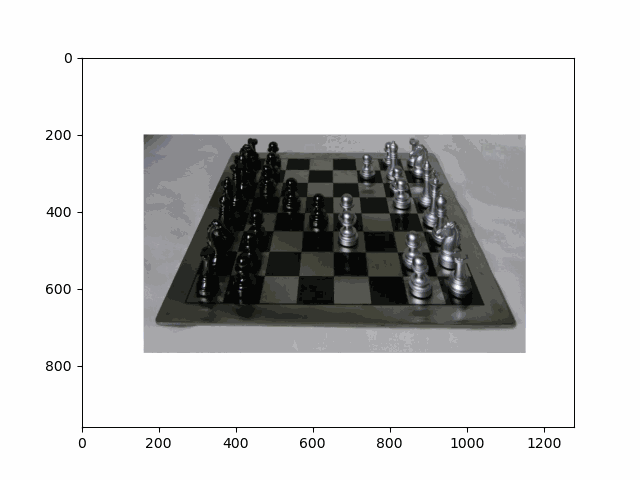
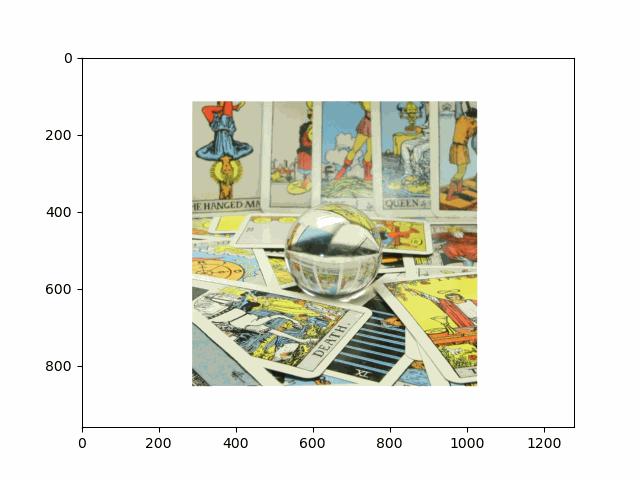
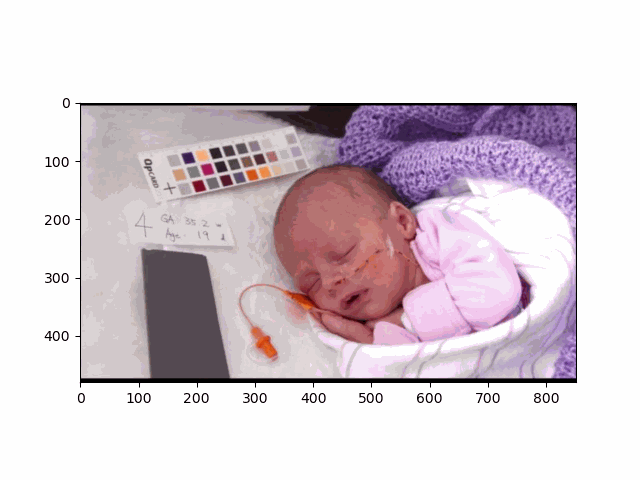
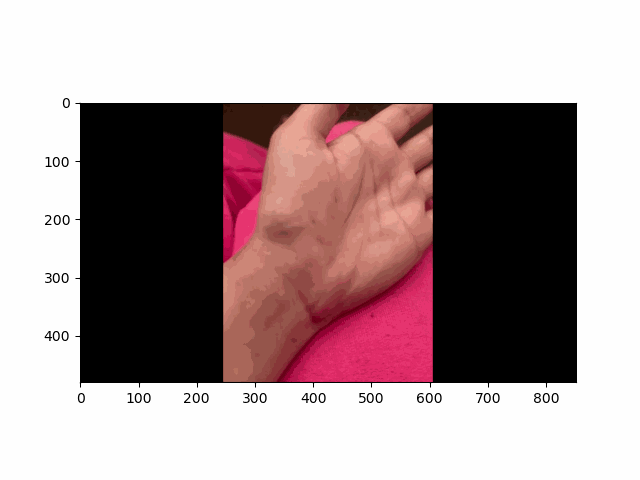
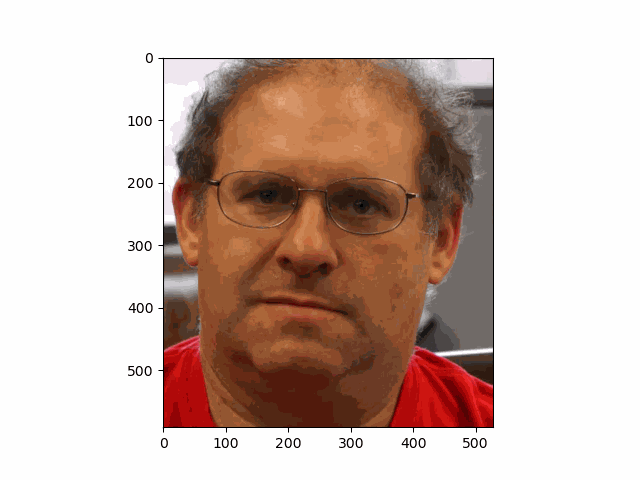
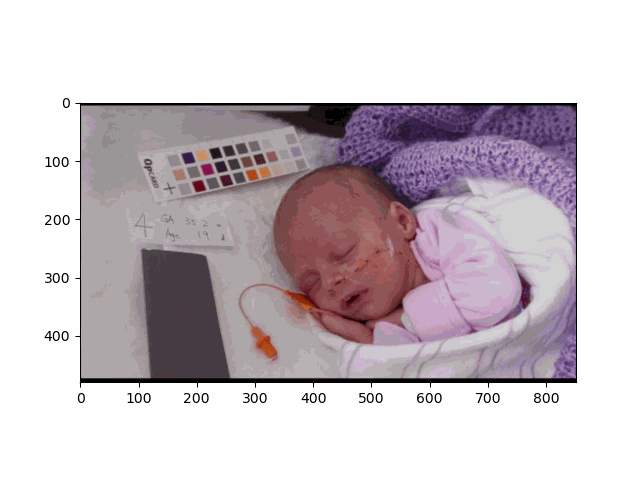
Using the Stanford Light Field Archive dataset, which contains images captured from a 17x17 camera array, I simulated varying focal lengths and aperture sizes. Each image corresponds to a unique camera position, enabling the exploration of these light field techniques with real-world data.

My goal was to reproduce the fascinating visual effects described in Section 4 of the paper. By leveraging the rectified image datasets provided by the Stanford Light Field Archive, I implemented depth refocusing and aperture adjustment to demonstrate how elementary operations on light field data can produce visually stunning results.

Depth Refocusing

Depth refocusing leverages the principle that objects farther from the camera exhibit minimal positional variation across images in a light field, while closer objects shift significantly when the camera moves. By appropriately shifting and averaging images from a 17x17 camera grid, we can align objects at specific depths. This effectively simulates a change in focus.

In this project, I used the center image at position (8, 8) as my reference and shifted each image in the grid by \(\alpha \cdot (i - 8, j - 8)\), where \(\alpha\) is a variable parameter that controls the focal depth. Averaging the shifted images allows for dynamically focusing on objects at different distances. Without any shifting, the final image appears sharp for far-away objects, but blurry for closer objeccts.

Results

This technique produces effects similar to adjusting the depth of focus in the dataset's online viewer under the "Full Aperture" setting. Below are examples demonstrating how changing the parameter \(\alpha\) creates images focused at varying depths.

Candy Depth Refocusing

\(\alpha\): -5 to 4 (incremented by 1)

Chess Depth Refocusing

\(\alpha\): -3 to 3 (incremented by 1)

Cards Depth Refocusing

\(\alpha\): -4 to 9 (incremented by 1)

Aperture Adjustment

Aperture adjustment simulates the effect of varying aperture sizes in a light field camera by controlling the number of images used in the averaging process. Averaging a large number of images from the camera grid mimics a camera with a large aperture, capturing more light and resulting in a shallower depth of field. Conversely, using fewer images corresponds to a smaller aperture, with a greater depth of field.

To achieve this, I introduced a hyperparameter \(\beta\) to control the radius of the camera grid. Only images satisfying \(|i - 8| \leq \beta\) and \(|j - 8| \leq \beta\) were included in the shifting and averaging process. By varying \(\beta\), I generated images corresponding to different aperture sizes, all while maintaining focus on the same depth. Larger \(\beta\) values produce a blurred background with focused objects, while smaller \(\beta\) values retain sharpness across the scene.

Results

Below are examples illustrating how changing the parameter \(\beta\) simulates varying aperture sizes and their impact on the depth of field. Increasing \(\beta\) corresponds to using more images in the averaging process, mimicking a larger aperture.

The process worked particularly well for the candy and chess datasets, likely due to the presence of distinct depth layers and clear spatial details. The cards dataset, however, performed less effectively. This is because this image data set lacks significant depth variations, making the aperture adjustment less noticeable.

Candy Depth Refocusing

\(\beta\): 0 to 8 (incremented by 1)

Chess Depth Refocusing

\(\beta\): 0 to 8 (incremented by 1)

Cards Depth Refocusing

\(\beta\): 0 to 8 (incremented by 1)

Summary

This project was an exciting exploration of light fields and their applications in computational photography. I learned how simple operations like shifting and averaging across a camera grid can produce complex effects like depth refocusing and aperture adjustment. It was fascinating to see how different aspects of a camera, such as aperture size and focal depth, contribute to the overall visual effects in an image.

Project Part 2 - Eulerian Video Magnification

Overview

Eulerian Video Magnification (Wu et al., 2012) is a method to amplify subtle variations in videos, such as blood flow and low-amplitude motion. By decomposing video frames into spatial frequency bands, isolating temporal variations using frequency domain filters, and amplifying these signals, we can visualize changes that are otherwise imperceptible to the naked eye. In this project, I implemented Eulerian Video Magnification to analyze three videos: face.mp4, baby2.mp4, and my custom video myhand.mp4. Each video highlights different types of signals, from blood flow to subtle movements.

Laplacian Pyramids

The first step was to construct Laplacian pyramids for each video frame. Each level of the Laplacian pyramid isolates spatial frequency bands. I built the pyramid by:

  1. Creating a Gaussian pyramid, where each successive level is blurred and downsized.
  2. Computing the difference between adjacent Gaussian levels to construct the Laplacian levels.
  3. Processing all frames in the video to create Laplacian pyramids for temporal filtering.

Temporal Filtering

Temporal filtering isolates the desired frequency bands in the time domain. Using a Butterworth band-pass filter, I filtered pixel values across time to extract subtle variations. For example:

  • face.mp4: Frequencies between 0.83–1.0 Hz were targeted to amplify blood flow signals.
  • baby2.mp4: Frequencies between 2.33–2.67 Hz were chosen to highlight pulsations.
  • myhand.mp4: Frequencies between 0.6–1.2 Hz were amplified to reveal my pulse.

Signal Amplification

After filtering, the extracted signals were amplified by a factor of alpha = 10. Equalization constants were applied to balance the amplification:

  • face.mp4: Equalization constant = 0.31
  • baby2.mp4: Equalization constant = 0.24
  • myhand.mp4: Equalization constant = 0.24

These amplified signals were added back to the original signals, emphasizing subtle variations.

Reconstruction

The final step was reconstructing the video by collapsing the Laplacian pyramid back into full-resolution frames. The magnified signals became visible in the final output videos. The original input videos are diplayed below.

Input Face Video (OG)

Input Baby Video (OG)

Input Hand Video (Self)

Results

1. face.mp4

Frequencies between 0.83–1.0 Hz were amplified to reveal blood flow. The t_start and t_end parameters were set to 85 and 245. Below is the resulting video:

2. baby2.mp4

Frequencies between 2.33–2.67 Hz were targeted to amplify pulsations. The t_start and t_end parameters were set to 23 and 253. Here is the result:

3. myhand.mp4

For my custom video, I captured the video using my phone, then used an online video compression tool to shrink the file size. Frequencies between 0.6–1.2 Hz were amplified to highlight my blood flow. The t_start and t_end parameters were also set to 23 and 253:

Bells and Whistles

I explored the impact of modifying the frequency ranges:

  • Narrowed Range: For face.mp4, narrowing the range to 2.0–2.2 Hz highlighted fine details, similar to 2.0-2.3 Hz range for myhand.mp4. However for baby2.mp4, narrowing to 0.4–0.7 Hz reduced noise, but limited pulsation visibility.
  • Face Video (2.0-2.2 Hz)

    Face Video (2.0-2.2 Hz)

    Baby Video (0.4-0.7 Hz)

    Baby Video (0.4-0.7 Hz)

    MyHand Video (2.0-2.3 Hz)

    MyHand Video (2.0-2.3 Hz)

  • Widened Range: Expanding the range to 0.8–2.5 Hz for face.mp4, 0.5–3.0 Hz for baby2.mp4, and 0.4-2.7 Hz for myhand.mp4 enhanced broader signals but introduced artifacts.
Face Video (0.8-2.5 Hz)

Face Video (0.8-2.5 Hz)

Baby Video (0.5-3.0 Hz)

Baby Video (0.5-3.0 Hz)

MyHand Video (0.4-2.7 Hz)

MyHand Video (0.4-2.7 Hz)

Challenges

One key challenge was tuning parameters like frequency range and equalization constants to balance magnification and artifact suppression. High magnification often led to noise, while overly narrow frequency ranges limited visible effects. Additionally, the computational cost of processing high-resolution videos required efficient implementation.